Care Guide for Monstera Minima
1. Light
- Ideal Light: Monstera minima (Rhaphidophora tetrasperma) thrives in bright, indirect light. While it can tolerate medium light conditions, the best fenestration (leaf splitting) develops with adequate light.
- Light Placement: Place near an east or north-facing window, or a few feet away from a south or west-facing window with filtered light. Morning sun is beneficial, but avoid harsh afternoon sun.
- Avoid Low Light: In low light conditions, the plant will grow more slowly and may not develop the characteristic split leaves. However, too much direct sunlight can scorch the leaves.
2. Watering
- Watering Frequency: Allow the top 1-2 inches of soil to dry out between waterings. Typically, this means watering once every 7-10 days, depending on environmental conditions.
- Seasonal Adjustments: Reduce watering frequency during fall and winter when growth slows. Increase slightly during active growth in spring and summer.
- Watering Technique: Water thoroughly until it drains from the bottom of the pot, then empty the drainage tray to prevent the plant from sitting in water. Use room temperature water, as cold water can shock the roots.
- Signs of Improper Watering: Yellowing leaves often indicate overwatering, while curling or drooping leaves suggest underwatering. This plant is more tolerant of underwatering than overwatering.
3. Humidity
- Humidity Level: Monstera minima prefers moderate to high humidity (50-60%) as it is native to tropical regions, but it adapts well to average indoor humidity levels.
-
How to Increase Humidity:
- Mist the foliage occasionally, especially during dry winter months.
- Place the pot on a tray filled with pebbles and water (ensure the pot isn't sitting directly in water).
- Group with other humidity-loving plants to create a more humid microclimate.
- Use a humidifier nearby, especially during winter when indoor air is drier.
4. Temperature
- Ideal Temperature: Monstera minima prefers warm temperatures between 65-85°F (18-29°C).
- Minimum Temperature: Do not expose to temperatures below 55°F (13°C), as cold temperatures can damage the plant.
- Avoid Temperature Fluctuations: Keep away from cold drafts, air conditioning vents, and heating sources. Sudden temperature changes can stress the plant and cause leaf damage.
5. Soil
- Soil Type: Use a well-draining, aroid potting mix. A mixture of regular potting soil, perlite, orchid bark, and some sphagnum moss works well to provide both drainage and moisture retention.
- Soil pH: Slightly acidic to neutral soil (pH 6.0-7.0) is preferred.
- Drainage: Good drainage is essential as the plant is susceptible to root rot. Always use pots with drainage holes.
6. Fertilization
- Fertilizer Type: Use a balanced, water-soluble fertilizer diluted to half the recommended strength. A fertilizer formulated for foliage plants is ideal.
- Fertilizing Frequency: Feed monthly during the growing season (spring and summer). Reduce or stop fertilization in fall and winter when growth slows.
- Application Method: Apply to moist soil to prevent root burn. Over-fertilization can cause brown leaf tips and edges.
- After Repotting: Wait at least 4-6 weeks after repotting before fertilizing to allow the plant to adjust and any root damage to heal.
7. Repotting
- Frequency: Repot every 1-2 years or when the plant becomes rootbound. Monstera minima is a relatively fast grower.
- Pot Size: Choose a pot that's 1-2 inches larger in diameter than the current pot. Too large a pot can lead to overwatering issues.
- Repotting Process: Gently remove the plant from its current pot, loosen the root ball slightly, and place in the new pot with fresh potting mix. Water thoroughly after repotting.
8. Pruning
- Regular Maintenance: Remove any yellow or damaged leaves at the base using clean, sharp scissors or pruning shears. Sterilize your tools before and after pruning to prevent disease spread.
- Shaping: Prune to control size and shape as needed. This plant is a climber, so provide a moss pole or trellis for support. Pruning can encourage branching and fuller growth.
- Cleaning: Wipe the leaves periodically with a damp cloth to remove dust and enhance the plant's appearance. This also helps the plant photosynthesize more efficiently.
9. Pests and Diseases
- Common Pests: Spider mites, mealybugs, scale insects, and thrips. Regularly inspect the undersides of leaves and leaf joints where pests often hide.
- Pest Prevention: Regular cleaning of leaves and maintaining proper humidity can help prevent pest infestations.
- Treatment: Isolate affected plants immediately. For minor infestations, wipe leaves with a damp cloth or use insecticidal soap. For severe cases, use neem oil or appropriate insecticides.
- Disease Prevention: Avoid overwatering to prevent root rot. Ensure good air circulation around the plant.
10. Winter Care
- Reduced Watering: Water less frequently during winter months, allowing the soil to dry out more between waterings.
- Temperature: Maintain temperatures above 65°F (18°C) and protect from cold drafts. This plant is sensitive to cold.
- Light: Move closer to a window if possible, as winter sunlight is less intense. Ensure the plant still receives adequate light during shorter winter days.
- Humidity: Indoor heating can reduce humidity levels in winter, so increase humidity maintenance efforts during this time.
11. Propagation
-
Stengelstekken:
- Take stem cuttings with at least one node and preferably with an aerial root.
- Allow the cut end to callus for a few hours before propagating.
- Place the cutting in water or moist sphagnum moss until roots develop, which can take 2-4 weeks.
- Once roots are 1-2 inches long, transfer to a well-draining potting mix. Keep the soil consistently moist (not wet) until the plant is established.
-
Air Layering:
- For larger plants, air layering can be effective. Make a small incision in a stem below a node.
- Apply rooting hormone to the wound and wrap with moist sphagnum moss.
- Cover with plastic wrap and secure both ends with twist ties or string.
- When roots are visible through the moss (usually after 3-6 weeks), cut below the roots and pot up the new plant.
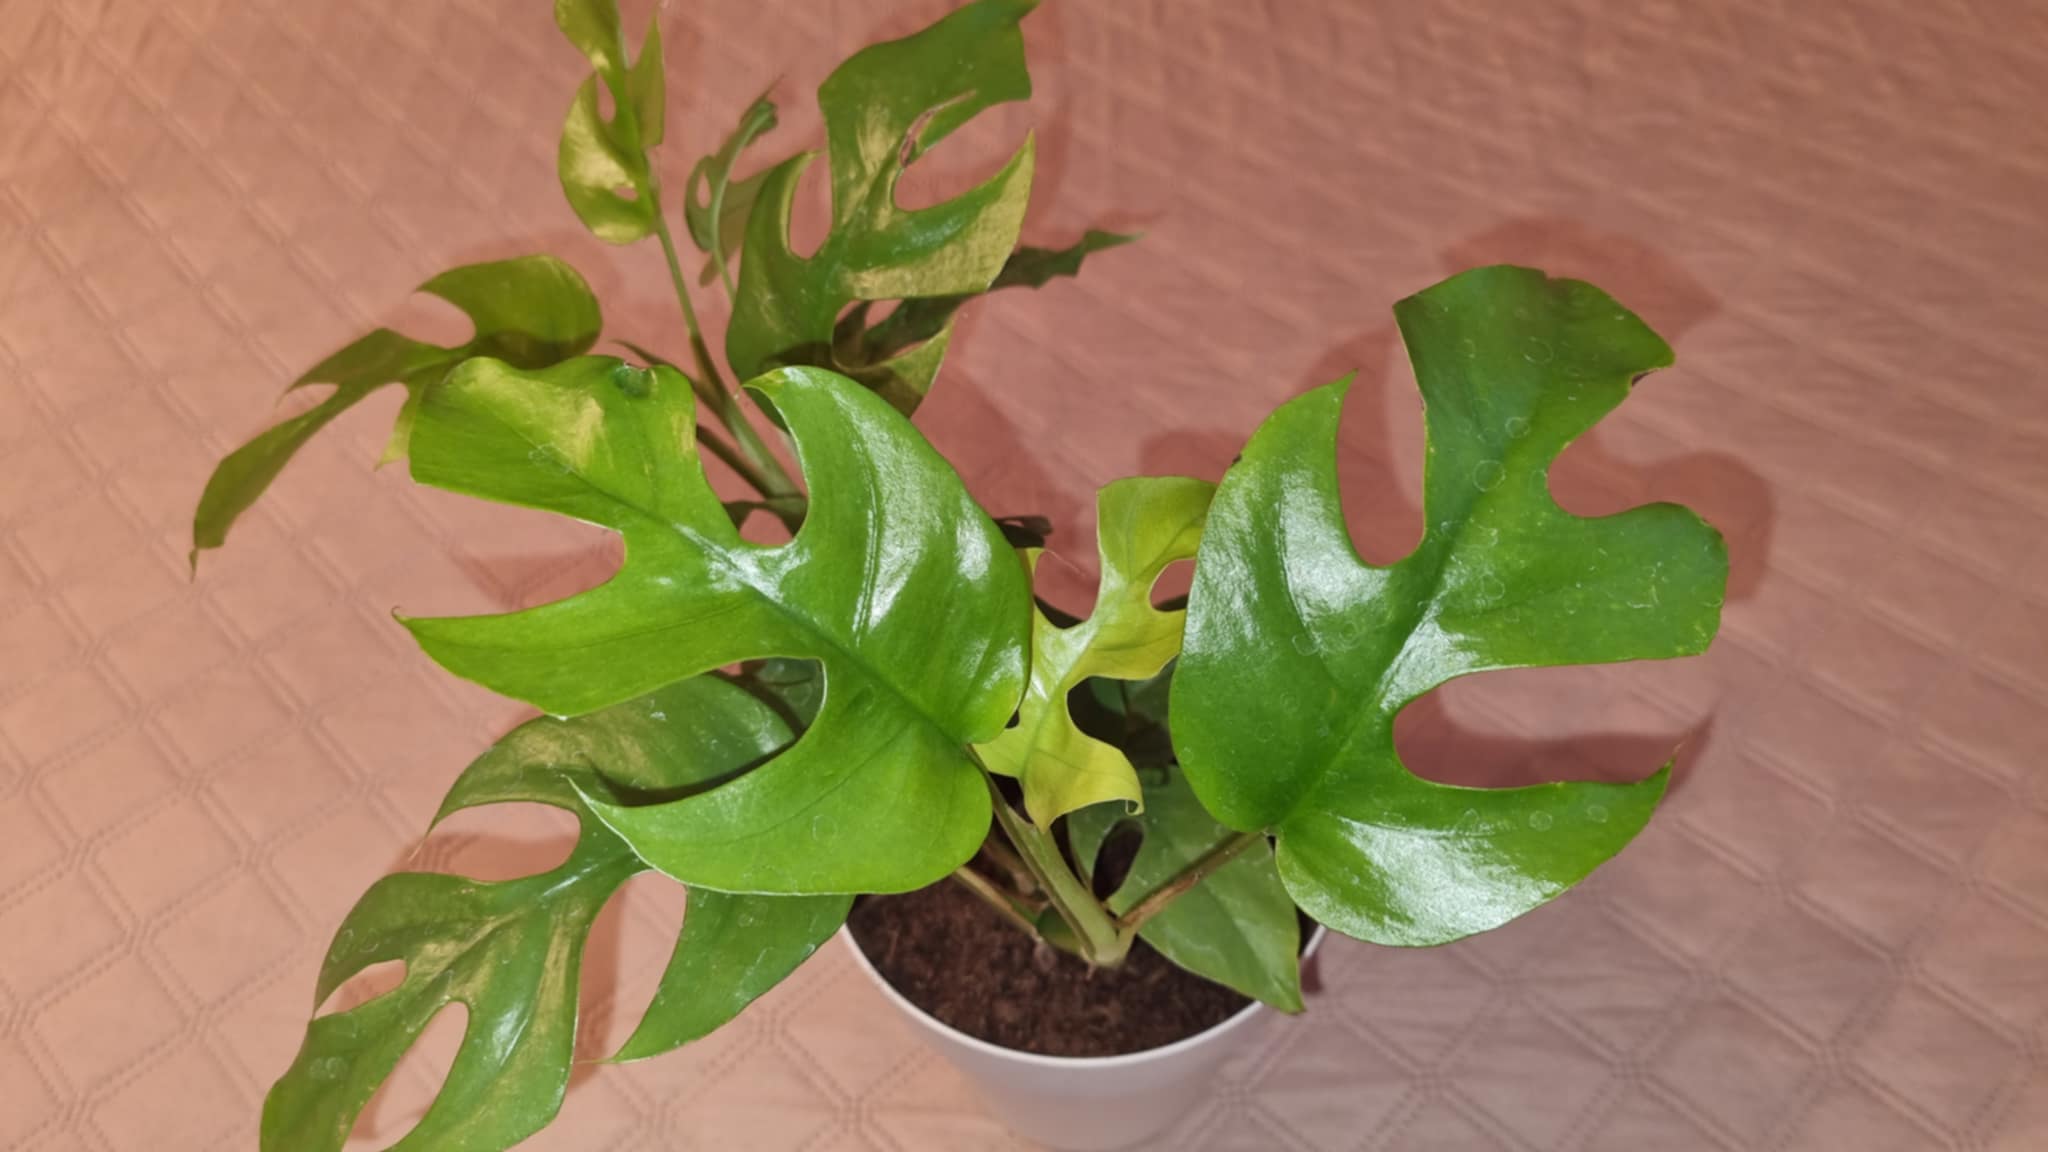
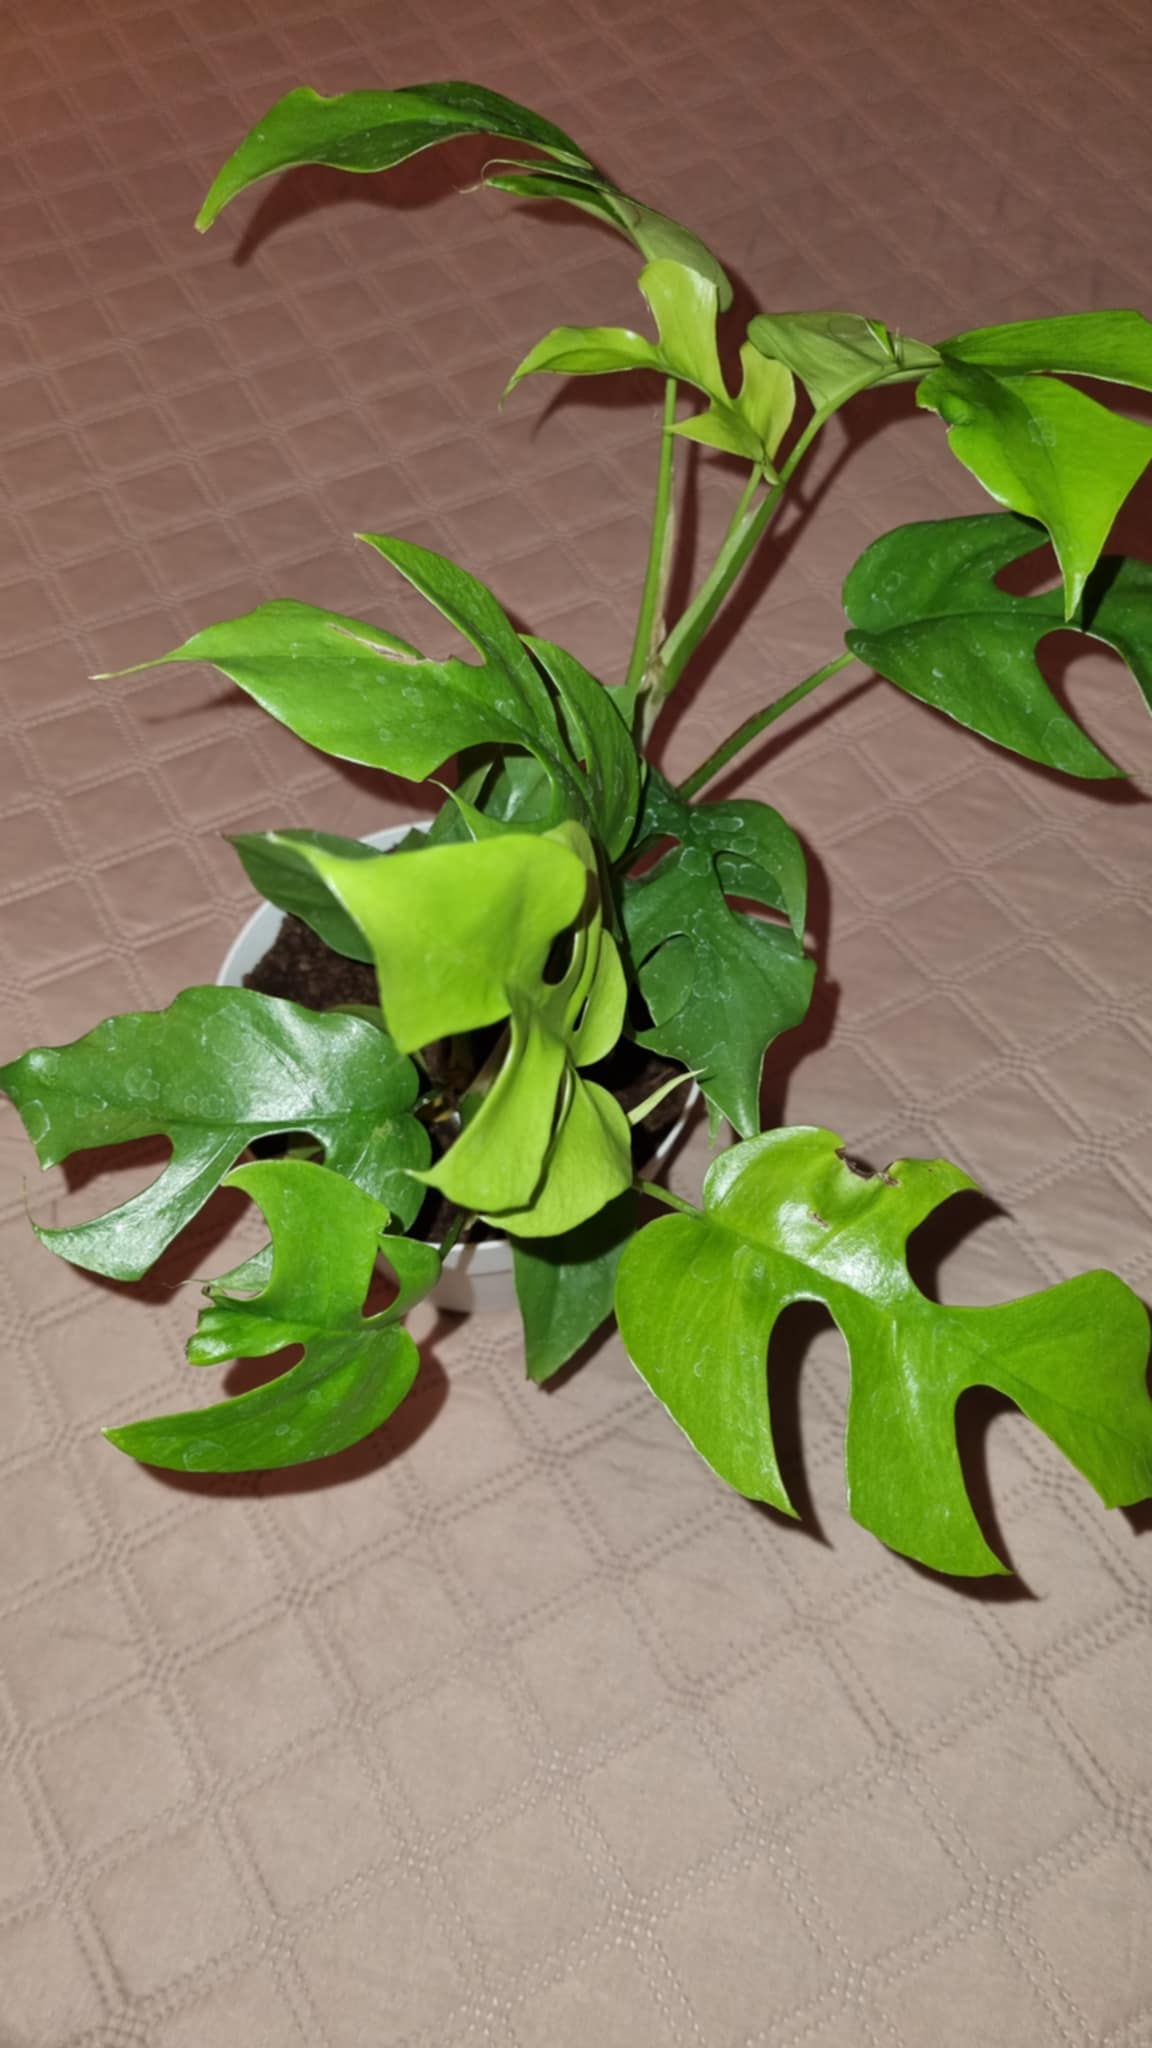
Monstera minima, botanically known as Rhaphidophora tetrasperma, is often called the "Mini Monstera" due to its resemblance to Monstera deliciosa, though they belong to different genera. Native to Southern Thailand and Malaysia, this tropical climbing plant belongs to the Araceae family and has gained popularity for its manageable size and attractive foliage. The plant features heart-shaped leaves with natural fenestrations (splits) that develop as the plant matures, creating the distinctive Monstera-like appearance but on a smaller scale. Typically growing to about 4-6 feet tall indoors with support, it has a much more compact growth habit than true Monsteras. Rhaphidophora tetrasperma is a fast grower and will climb readily if provided with a moss pole, trellis, or other support. Without support, it tends to trail or sprawl. The plant produces aerial roots that can be guided into the soil or allowed to grow freely. While it rarely flowers indoors, in its natural habitat it can produce typical aroid flowers consisting of a spadix and spathe. This plant is considered moderately easy to care for, making it popular among both beginner and experienced plant enthusiasts. It's worth noting that all parts of the plant contain calcium oxalate crystals, making it toxic if ingested by pets or humans. With proper care focusing on bright indirect light, moderate watering, and support for climbing, your Monstera minima can be a stunning, fast-growing addition to your indoor plant collection.
Comments